The process of installing the Magellan RoadMate is easy. However, selecting the best location is hard. Here are some tips that will help you select the location to install Magellan RoadMate GPS navigator.
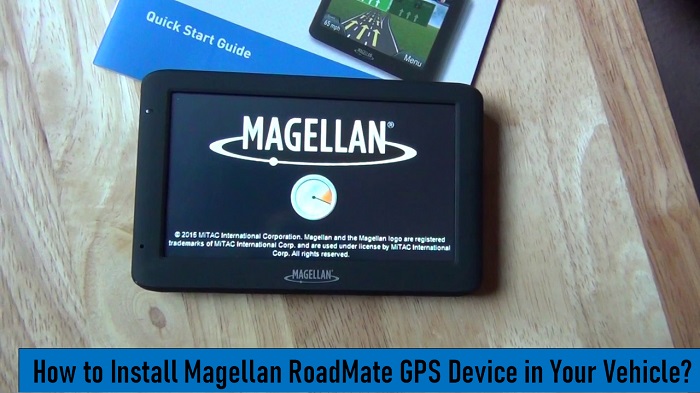
Select a proper location to install Magellan RoadMate GPS
- Mount the Magellan RoadMate device in a place where it can be seen easily. Make sure it does not interfere with the view when driving.
- You should mount the Magellan RoadMate device in a way that the antenna (placed on the top of a receiver) has a clear view of the sky through your windshield.
- Now, you need to determine whether you want to mount the device using the supplied adhesive disk or the adjustable mount to your windshield. Make sure that you check the regional or local laws before mounting the device to your windshield. That’s because some states, e.g. Minnesota and California have laws not allowing the device to be mounted on the windshield.
- If you are using the adhesive disk, avoid attaching it to your windshield. Also, make sure you select the smooth surface on your dashboard.
- You also have to ensure that any cabling or Magellan RoadMate doesn’t get disturbed when the airbags are deployed for proper GPS installation.
Clean the area of your vehicle to install the GPS device
If you are planning to use the adhesive desk, it is necessary to clean the area first. Use an alcohol pad that comes along with Magellan RoadMate GPS for cleaning the windshield area. Let the area dry properly.
Apply the adhesive disk
Skip this step if you mount the device directly to the windshield. To apply the adhesive disk, detach the protective tape from the back of the disk. Then, apply the disk with your adhesive side towards your dash. Now, maintain pressure on your disk for about 5 minutes. Doing so will allow the device to be set in place. Make sure you allow the adhesive disk to cure before you move forward.
Attach the cradle
To attach the cradle, you need to align the tabs on the bottom side of your Magellan RoadMate. Now, swivel your cradle up. This way it can easily flush against the back of your receiver and instantly snap into place.
Adjustable Mount to install the Magellan GPS
To use the adjustable mount to install the GPS, you need to line up both tabs with the holes available on the back of your Magellan RoadMate. As the adjustable mount starts flushing with the Magellan RoadMate, you need to push the receiver down until it properly locks in place with your adjustable mount.
Securing the Mount to the Adhesive Disk or Windshield
The lever located at the base of your adjustable mount should be in the up position. Now, firmly place the base of your mount over the windshield or adhesive disk. Then, push the lever down until it properly locks in place. Don’t forget to release the assembly firmly. This will make sure that the device is mounted securely.
Adjusting the Mount for Optimum Viewing
Make sure you loosen the locking knobs and then position your Magellan RoadMate GPS device for optimum viewing after installation. Once it is correctly set, you can tighten the knots. It is not recommended to adjust the mount while driving.
Connect the Power
To connect the power, you need to plug the end of your cigarette lighter adapter into the 12 VDC cigarette lighter receptacle in a vehicle. Then, connect the other end to the USB connector of your Magellan RoadMate GPS. Your device will automatically turn on if there is any power. Please note some vehicles will only apply the power to the cigarette lighter receptacle when the ignition turns on.
Security
For security reasons, users should make sure that the Magellan RoadMate is not left in plain view when it is not attended.
Region
The Magellan RoadMate has a region setting (by default) for the lower 48 United States. In addition, if you plan to travel to Puerto Rico or Hawaii, you must update the region in the User Options menu.
- Go to the Main Menu.
- Click the right arrow to open the Main Menu page 2.
- Then, select the User Options menu.
- Tap on the Region option.
- Select the desired map region.