When you update the Windows system to the latest version, the Wake On LAN (WOL) may stop working. This issue might take place because the new version of your Windows system is unable to fetch the registry key. As an outcome, you find an error when using the WOL service on Windows 10 for HP computers.
4 Best tips to fix Wake On LAN not working issue
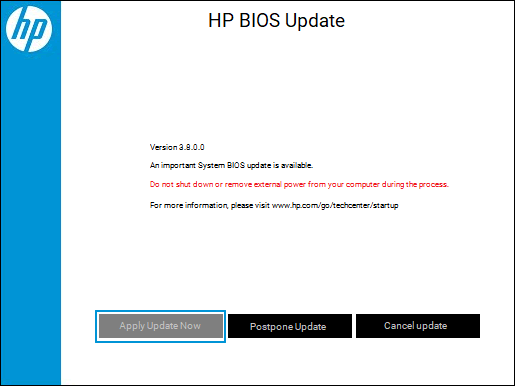
If the Wake On LAN (WOL) option is not working after updating Windows 10 then you can perform a basic fixation method such as updating BIOS.
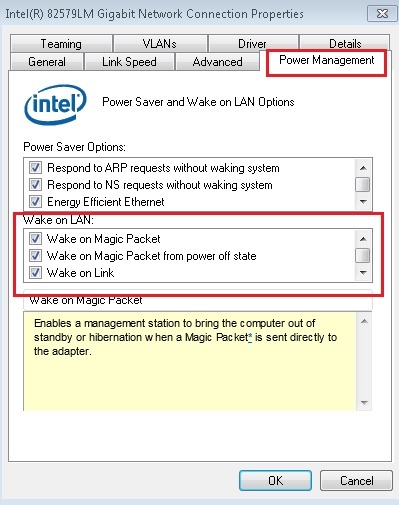
Apart from this, you can disable Hybrid Shutdown mode and enable the Wake On LAN setting for the LAN driver. By editing the Windows registry, you can solve such issues as well.
Go through each method with step-by-step details and apply these steps carefully.
Fix 1: Updating the BIOS
Basic Input or Output System is the core processor software that is responsible for booting up the Windows computer. If the Wake On Lan is not working after updating the Windows computer, make sure that your computer is using the latest BIOS version. Otherwise, you may encounter problems with Wake On Lan on Windows computers.
Fix 2: Turn off hybrid shutdown mode to fix Wake On LAN not working
Keeping the Hybrid Shutdown mode powered on may cause trouble. As a result, you might not be able to use Wake On Lan. If the Wake On Lan is not working after updating Windows 10, you can try turning off the Hybrid Shutdown mode. This can be done from the Windows Control Panel. Here are the steps for this:
- Launch Control Panel on a Windows computer.
- Then, go to the Hardware and Sound section.
- Here, select Power Options.
- Select the Require a password on wakeup.
- Now, confirm that the Turn on fast startup option is unchecked.
- Apply the changes by hitting the Save button.
Once you turn off the Hybrid Shutdown mode, try using Wake On LAN. If it is still not in working condition, try to recognize the cause and solve it accordingly.
Fix 3: Turn On the Wake On LAN setting for LAN driver
To make the Wake On LAN service work efficiently, one has to ensure that you have applied the correct setting for the LAN driver as well. Verify the LAN settings in the Device Manager on Windows.
- Open Windows Device Manager.
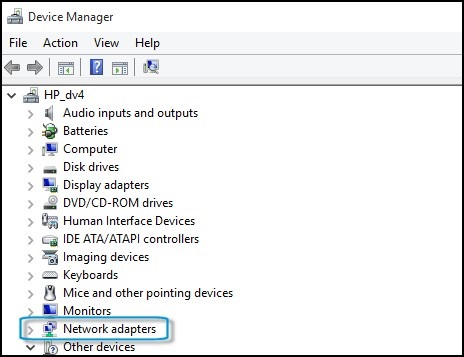
- Then, go to the Network adapters.
- After this, find the LAN device.
- Click on the LAN device once found.
- Switch to the Advanced tab.
- Also, verify that the Shutdown Wake-On-Lan option is turned on.
- Now, go to the Power Management tab.
- Select the Allow this device to wake the computer option.
- Click the Save button.
Once you are done following these steps, you can close the Device Manager and try connecting the Wake On LAN service to check if it is creating any issues.
Fix 4: Add the HP Registry key manually
If the Wake On LAN is not running, you can manually enter the HP registry key to resolve the issue. This should be noted that the adding wrong register entry may cause issues. Make sure you use the Registry Editor carefully.
- Use the Windows + X keys together to open Run Windows.
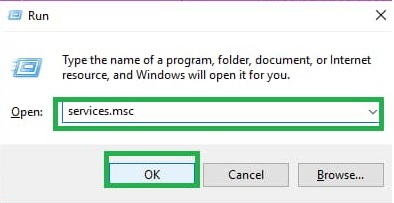
- In the Run dialog box, you can type in regedit.
- Press the OK button to open the Registry Editor.
- Go to the following locations:
- KEY_LOCAL_MACHINE\SYSTEM\CurrentControlSet\Services\NDIS\Parameters
- Click right on Parameters.
- Click the New DWORD (32-bit) Value.
- Now, add the AllowWakeFromS5 key.
- Then, set the value to 1.
When you are done making changes, close the Register Editor and restart your computer. Then, try using Wake On LAN on a Windows computer.
To sum up
Windows 8 registry key provides Wake on LAN support under the Classic Shutdown mode but not under the Hybrid Shutdown mode. When you upgrade your Windows 8 to Windows 10, it might not carry over the registry key which may result in a Wake On LAN not working issue. By correcting the registry key and other settings, you can resolve this problem easily.


