
Printers
How to Reset HP Printing System on Mac?
Why My HP Printer Does Not Turn ON?
How to Print Both Sides of Paper with Brother Printer?
How to Change Brother Printer Driver Settings on Windows and Mac?
How to Fix Brother Printer Printing Black Lines Down the Page?
My HP Envy 5540 Keeps Saying Out of Paper- What to do?
Why Is My HP Officejet Pro 6970 Black Ink Not Printing?
Why Is My HP Deskjet 3520 Not Printing Black Ink?
How to Connect My HP Envy Pro 6455 Printer to WiFi?
How to Connect HP Envy 4500 Printer to WiFi?
How Can I Fix My HP Envy 4520 Not Printing Black Ink Properly?
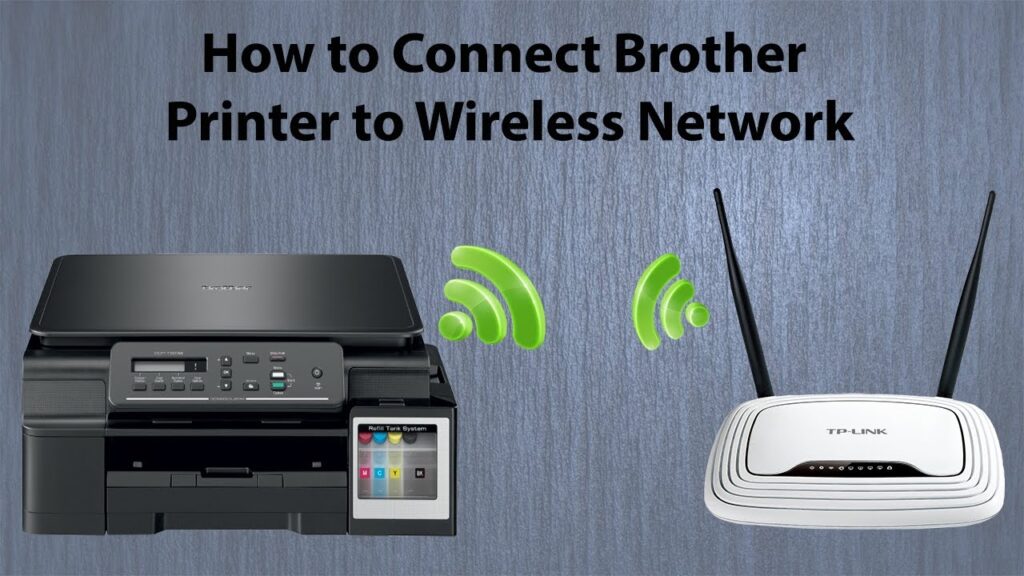
How to Connect Brother Printer to WiFi Network?
How to Fix Brother Printer Paper Jam Error?
How to Access HP Printer Settings & Management Tools with WiFi Direct Network?

How Can I Find the WPS PIN for HP Printer Setup?
How Can I Change the WiFi Direct Password and Other Settings?
What To Do When a Print Job or Wi-Fi Direct Connection Fails?
Why Am I Not Able to Connect My Wireless Printer or Scan Over a Network?
How to Save Scan as an Editable Text File with HP Printers?
How to Scan from the HP Printer Control Panel?
Is There Any Tool or Scanning App Available for HP Printers?
What If My HP Printer is Not Found or the Connection Fails During USB Setup?
What If the HP Printer Cannot Connect to the Network?
What If My HP Printer is Not Found or the Wired Network Connection Fails?
Can I Change from a Printer USB Connection to an Ethernet Connection?
What If My HP Printer is Not Found or Connected During the Installation?
How to Turn Off Web Services on HP Printers?
What to do If Received an Error When Turning on the Web Services on HP Printers?