This article will guide you to perfectly replace the low or empty ink cartridges for HP Tango and Tango X printers.
- Firstly turn ON your Tango printer and open the scanner lid.

- Now load a stack of plain paper inside the input tray.
- Ensure that the output tray or the wrap of the printer is extended.
- Next, gently press the Ink door button to open the ink cartridge access door. Then lift the door until it snaps into its place.

- Now you need to wait until the carriage stops moving or is in an idle state.
- Now lift the ink cartridge latch upwards to release it and then remove the ink cartridge.

- Next, you new to open the brand new packed ink cartridge from the box. You need to only touch the black plastic on the ink cartridge.
- Now you are supposed to remove the plastic tape from the ink cartridge. Then discard or recycle all the plastic tape and the packaging material.

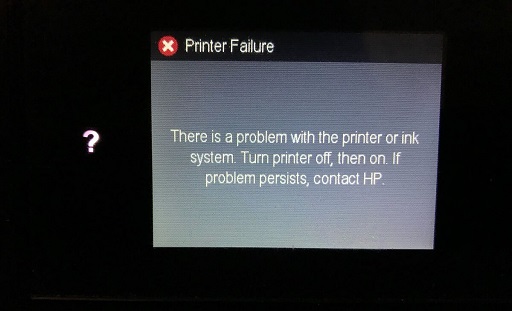
Note:- Make sure you avoid touching the copper color contacts or the ink nozzles because it may cause HP ink system failure, clogs, or bad electrical connections to the printer.
- Now with the nozzles facing toward the printer, insert the ink cartridge into its slot. Then squeeze the ink cartridge until it snaps into its place.

- Repeat the above necessary steps to install all the other cartridges.
- Now lower the ink cartridge access door and press it down gently to lock it into its place.
- Finally, your printer will print an alignment page to align the ink cartridges.
Frequently asked questions for HP tango printers to replace the ink cartridges
Which ink cartridges work with HP Tango and Tango X printers?
| Black ink cartridge code | 64 Black and 64 XL Black |
| Color ink cartridge code | 64 Tri-color and 64 XL Tri-color |


